Summary
This article covers how to add an employee’s dependents to their account.
Some companies opt to allow employees to enter in their own dependent data. If you have opted to enable this option, employees will have access on their mobile app (ClaimSnap), and on their online employee portal to add their own dependents.
Please note, in this case, they can add or edit dependent information, but cannot remove dependents, suspend their coverage or apply Student Status to them.
For instructions on how to hide or suspend coverage for dependents, click here.
For instructions on how to apply ‘Student Status’ coverage to a child dependent, ensuring they are eligible under an extended upper age limit, click here.
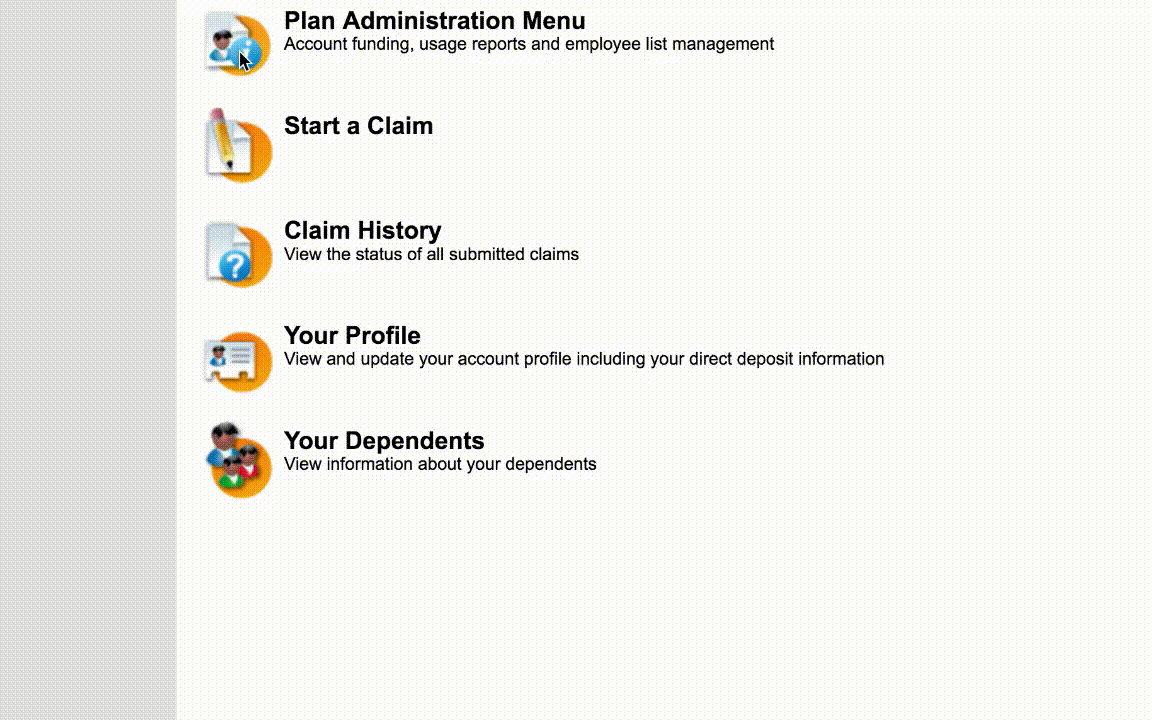
Add dependents to an employee account
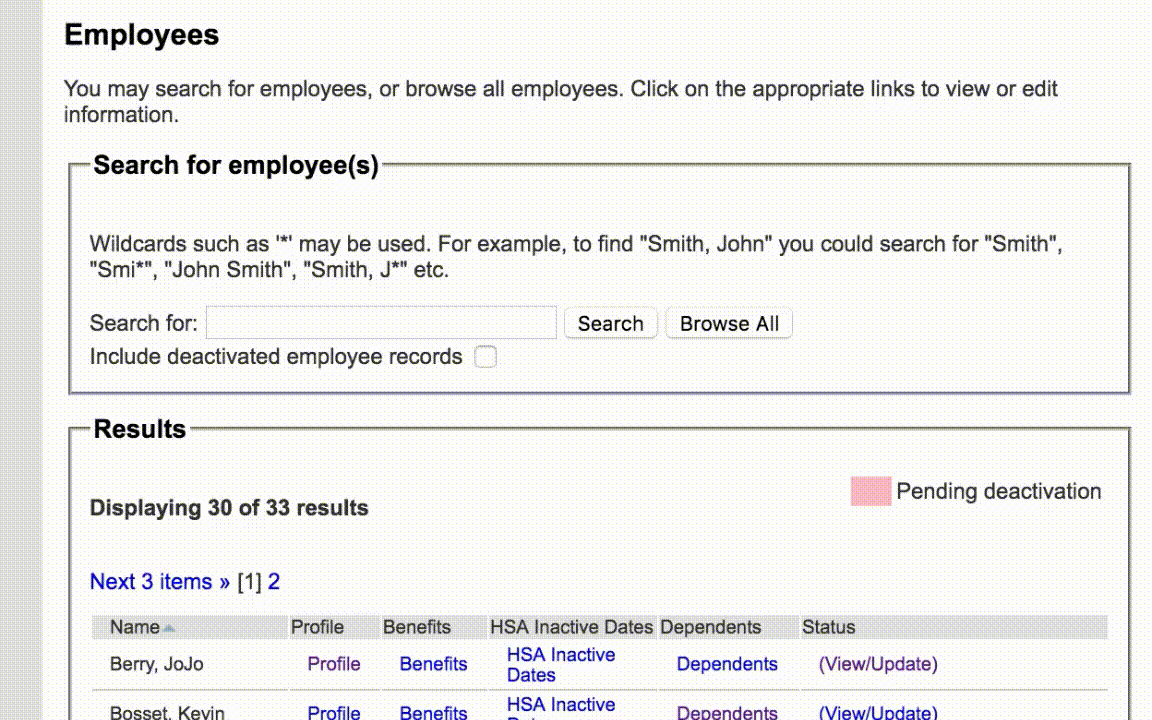
1. Login and click on the "Employees" tab.
2. Locate the employee whose dependents you want to add and click on their name.
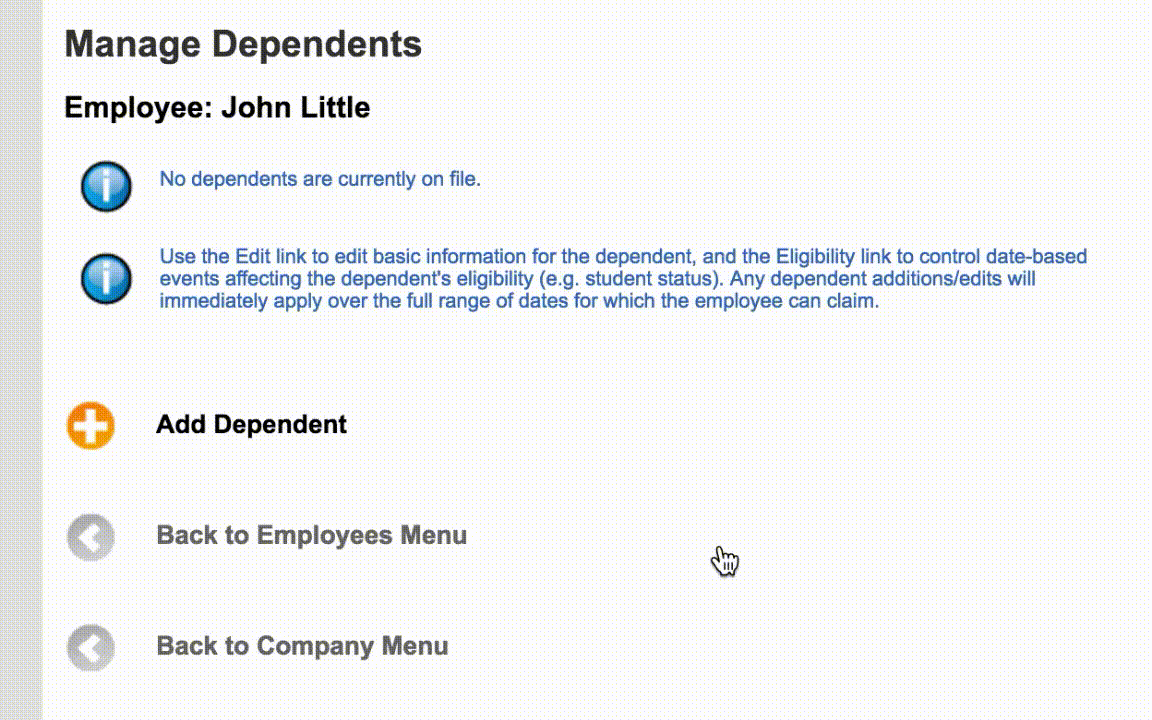
3. Click on the "Dependents" tab.
4. Click the "+ Add dependent" blue button to trigger a pop-up window.
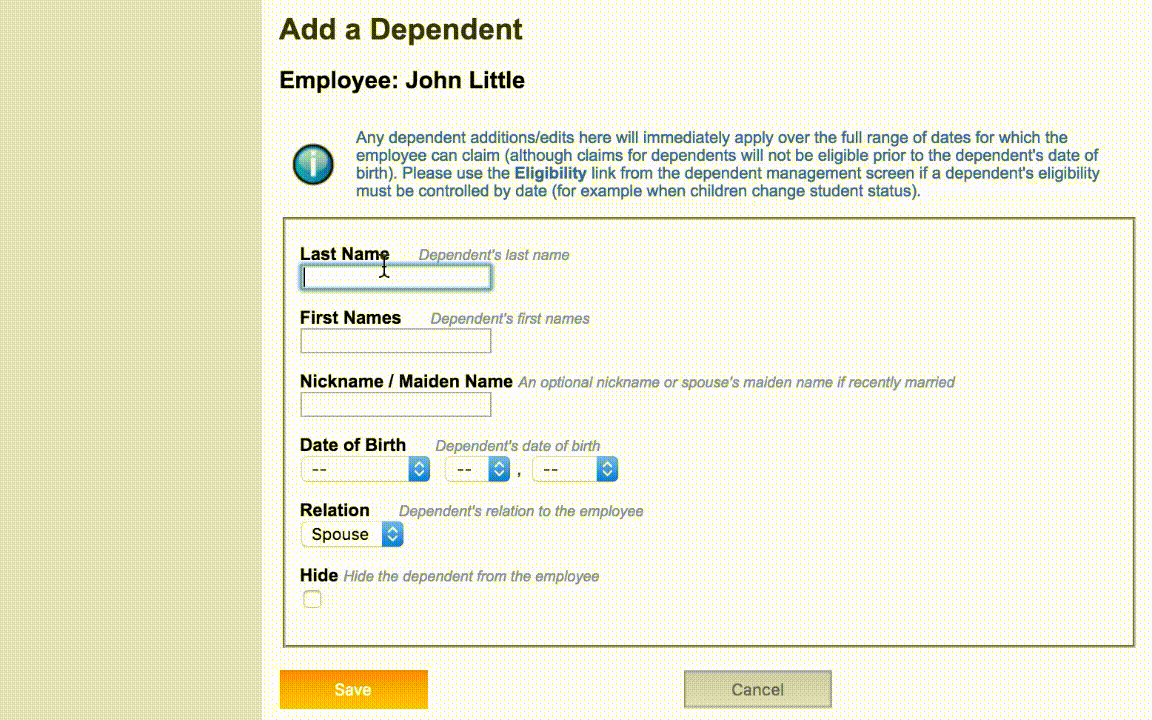
5. Enter in the dependent information.
Required fields for entry are: First name, last name, relation, date of birth. Under the ‘Relation’ field the options are:
- Spouse: No age restrictions for coverage.
- Child: Only eligible up to a maximum age determined by the plan setup.
- Unconditional dependents: non-Spouse dependents with no age restrictions. Follow CRA guidelines to determine if a dependent qualifies as Unconditional.
Optional fields for entry are: Nickname, maiden name.
Please note, the names on the dependent’s receipts must match the names on the system for claims to get approved. You are encouraged to enter nicknames or maiden names, as needed.
6. Click on "Save" to confirm your changes. Repeat this process for multiple dependents.
Comments
0 comments
Article is closed for comments.